A 20×30 custom island booth design gives you 600 square feet to connect product demonstrations, meetings, and brand displays. Start by choosing the primary visitor activity, then reserve space for circulation and staff access. This guide compares three layout approaches and shows how real Exhibitsmax projects organize the same footprint.
What Makes a Good 20×30 Island Booth?
A good layout makes the extra space useful. Compared with a 20×20 booth, a 20×30 footprint adds 200 square feet and a longer axis for separating activities. That can accommodate another demonstration, more meeting capacity, or better product access—but only if furniture, equipment, people, and storage are planned together.
An island has aisles on all four sides. The dimensions alone do not confirm an island assignment: check the organizer’s floor plan before choosing structures or entrances. With four-sided exposure, there is no permanent “back” where unfinished surfaces and service items can be ignored.
Define the main objective, the activities happening simultaneously, and the products visitors need to see. Use actual equipment dimensions and occupied seating positions when reviewing the plan. For rental, custom, and hybrid service options, explore our 20×30 trade show booths.
Three Practical 20×30 Island Booth Layouts
Choose a starting point based on the booth’s primary job. These are planning approaches, not fixed packages or approved floor plans; a final design can combine elements of more than one.
| Layout | Main features | Suitable needs | Main tradeoff |
|---|---|---|---|
| Product Demo Island | Separate demo stations, visible reception, equipment displays, and audience space | Technology, electronics, and industrial equipment presentations | Each active demonstration needs room for both the product and its audience |
| Meeting-Focused Island | Semi-private seating, a concise product presentation, reception, and discreet storage | B2B, medical equipment, and manufacturing teams with scheduled conversations | Privacy features can reduce sightlines and open circulation |
| Multi-Brand Display Island | Distinct product or brand zones, display walls or shelves, and shared meeting space | Consumer goods and companies presenting several brands or product lines | Display capacity must not consume the routes between brands |
1. Product Demo Island
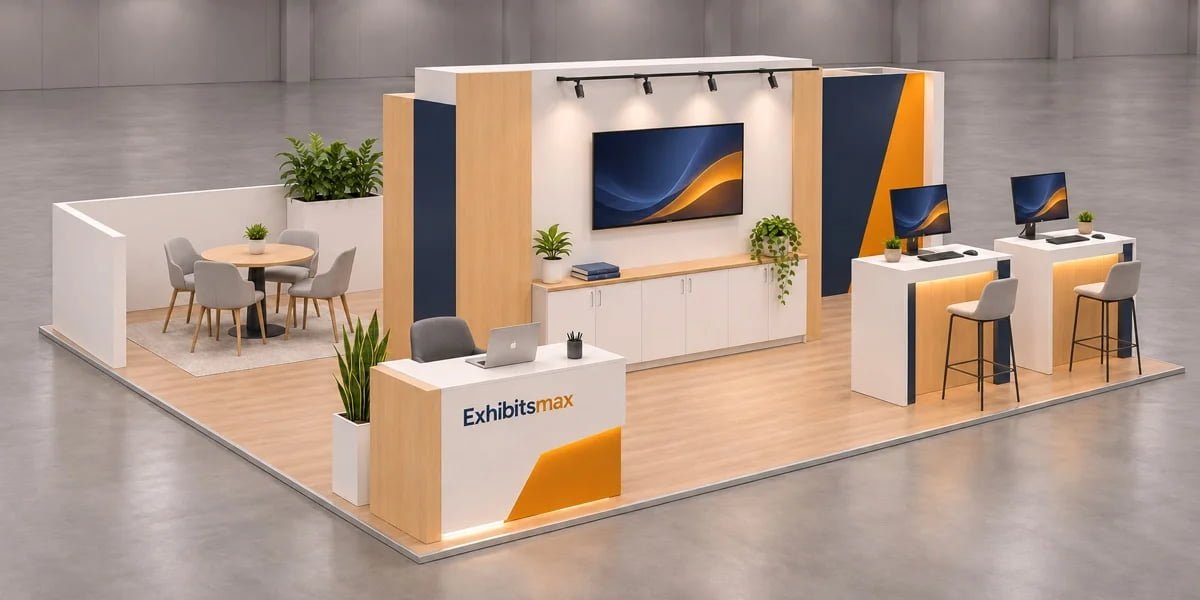
Use the 30-foot dimension to separate presentations instead of lining every station along one edge. A central display structure can support screens on different faces, while freestanding counters provide additional interaction points. Put reception where staff can direct visitors without interrupting a demonstration.
Example layout: For example, a 20×30 demo-focused island might reserve one end for two demonstration stations, place a reception counter near a high-traffic approach, and use the opposite end for a compact meeting area. The final arrangement should be checked against actual equipment sizes, visitor capacity, and required circulation.
Reserve audience space inside the footprint. Plan equipment movement, operators, viewing distance, power, connectivity, and cable routes before fixing counter positions. If adjacent presentations use sound, review whether they can run together without competing.
2. Meeting-Focused Island
Place a semi-private meeting zone toward the quieter part of the assigned space, with reception and selected products visible from the busier aisles. Use partial screening where appropriate rather than automatically enclosing the entire meeting area.
Draw chairs in their occupied positions and allow access around them. Keep storage doors and staff replenishment routes away from seated visitors. If conversations require confidentiality, discuss enclosure, sound control, ventilation, and applicable approvals; a partial wall alone does not provide acoustic privacy.
3. Multi-Brand Display Island
Give each brand or product family a recognizable display zone, then connect them through shared reception and conversation space. Different headers, graphic treatments, or fixture formats can help visitors distinguish the ranges without creating separate, disconnected booths.
Build the display list around how products are shown: wall-mounted, tabletop, floor-standing, or handled by visitors. Check shelf loads, mounting details, replenishment, and sample security. Keep a route between zones so staff can introduce a second product range without leading visitors back into the aisle.
How to Plan Four-Sided Visitor Flow
Four open sides do not require four reception counters. Establish clear entry points based on the actual aisle approaches, while making the brand and product offer understandable from the other directions.
- Review all four approaches. A storage wall that works from one angle may hide the offer from another.
- Connect the long and short sides. Avoid a continuous structure that turns the 30-foot footprint into isolated zones.
- Test the occupied layout. Add staff, people watching demos, pulled-out chairs, open doors, and equipment movement to the plan.
- Keep pauses inside the booth. Reception, waiting, and product handling should not depend on using the surrounding aisles.
- Plan staff access. Supplies and charging points should remain accessible without crossing active demonstrations.
Our trade show booth design service can translate these requirements into a scaled layout and multiple approach views. Confirm clearances and accessibility against the current event and applicable requirements before approving production.
Real 20×30 Custom Booth Design Examples
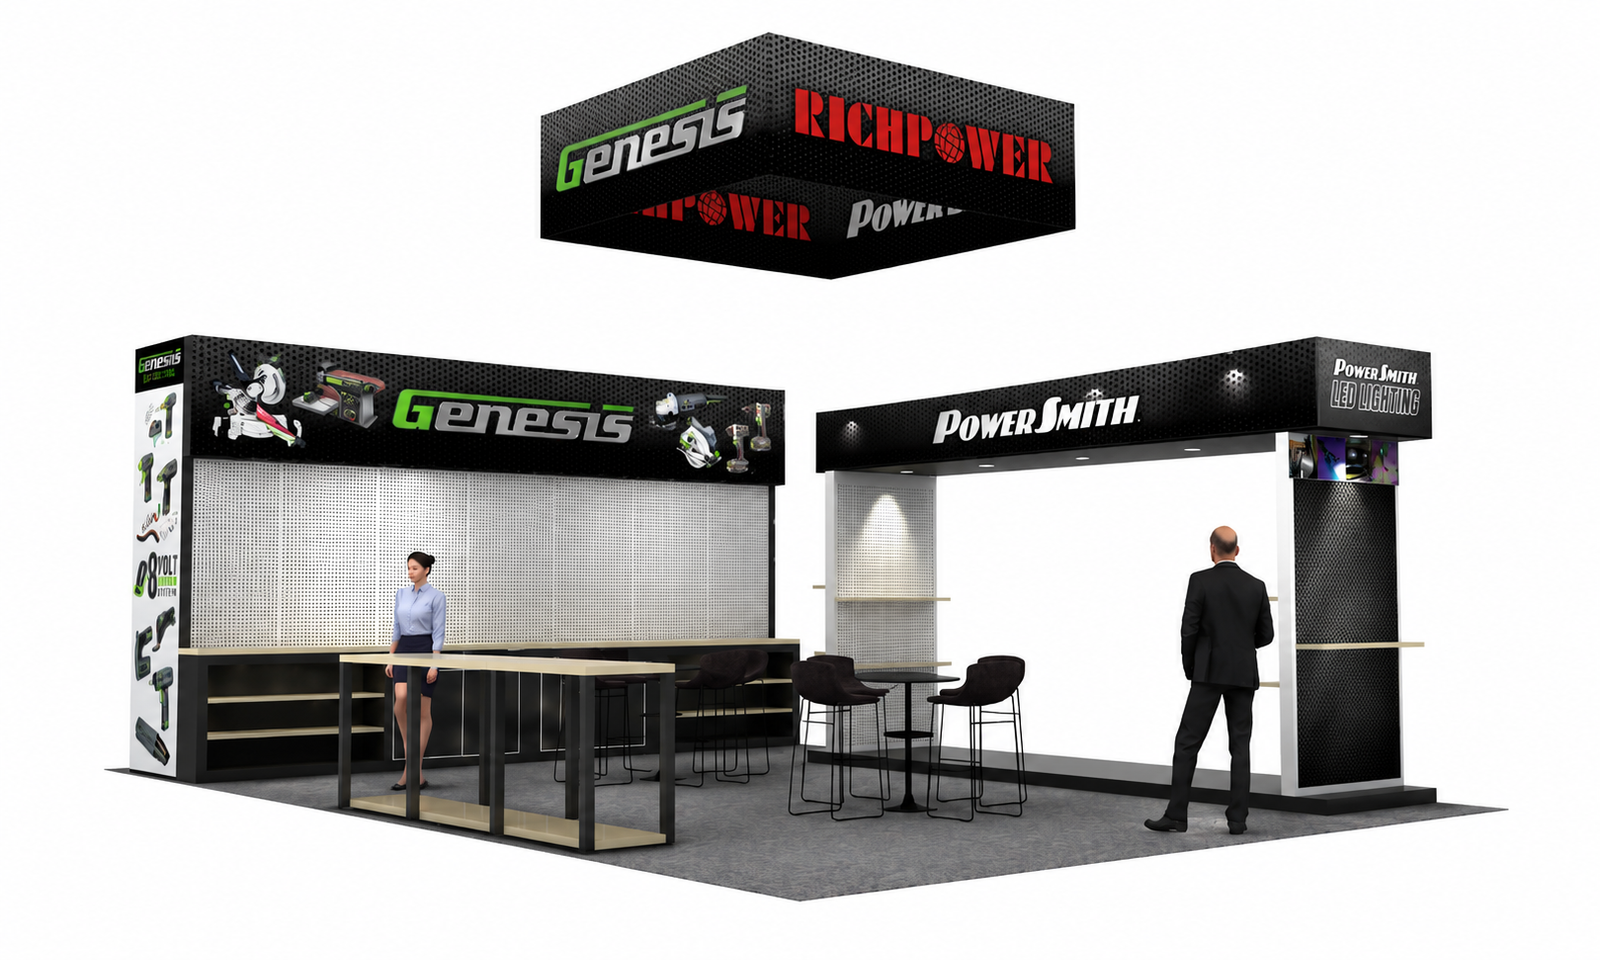
These Exhibitsmax projects show different ways to organize 600 square feet. They are references for specific design decisions, not interchangeable floor plans. The project photographs below show completed exhibits; the images above are design renderings.
Klacci — ISC West 2024 — 20×30, Las Vegas
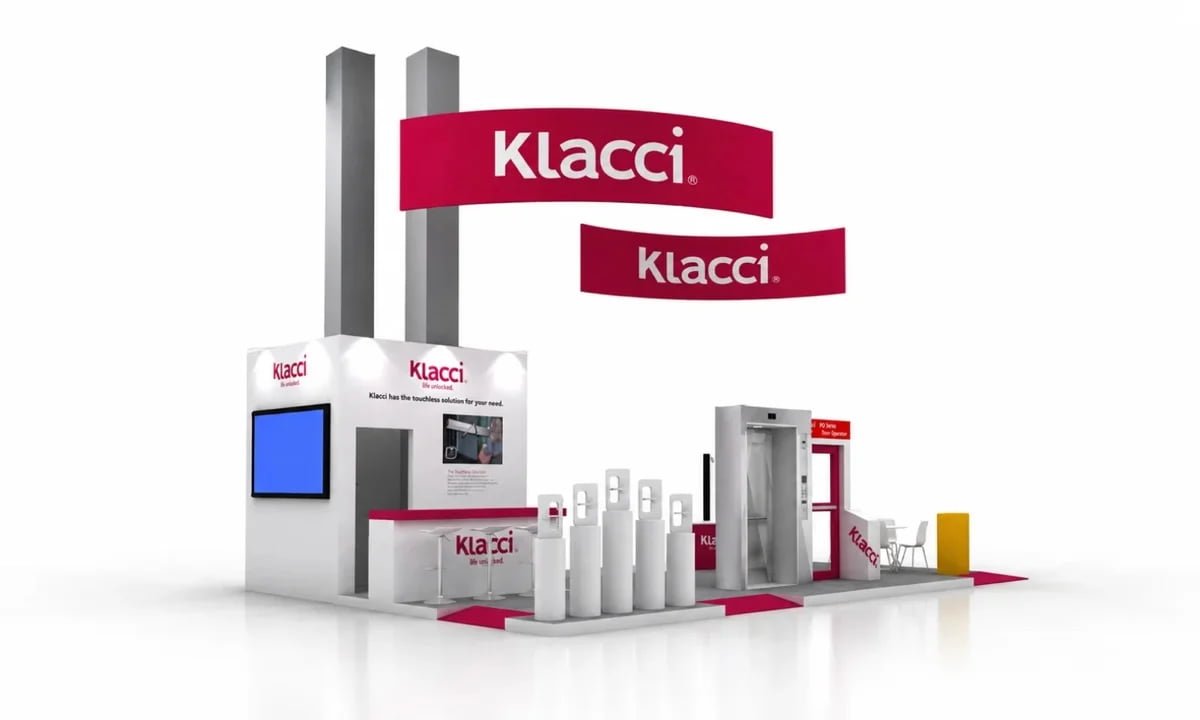
Design features: Door-hardware demonstration frames, cylindrical product pedestals, a branded counter, digital content, and meeting furniture brought hands-on presentation and conversations into the same exhibit. Red suspended signs carried the brand above the white structures.
Design takeaway: Allocate the operating area around a door or moving product before placing adjacent seating. Product dimensions alone do not describe the space needed for interaction.

View the Klacci 20×30 booth case study →
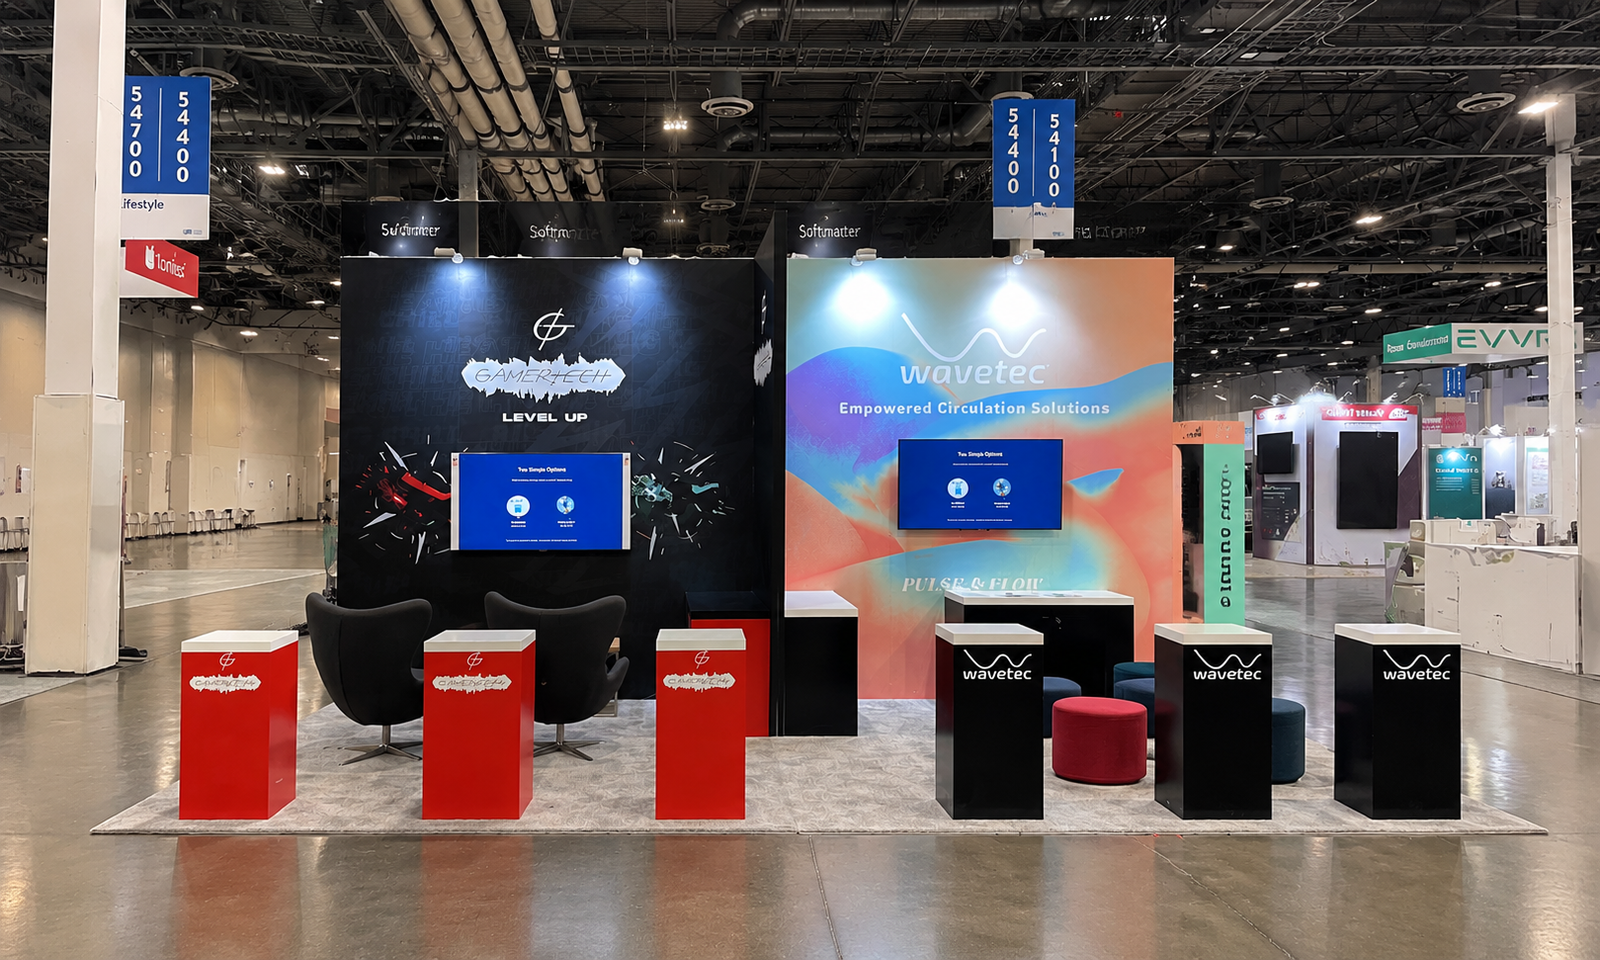
Softmatter — CES 2022 — 20×30, Las Vegas
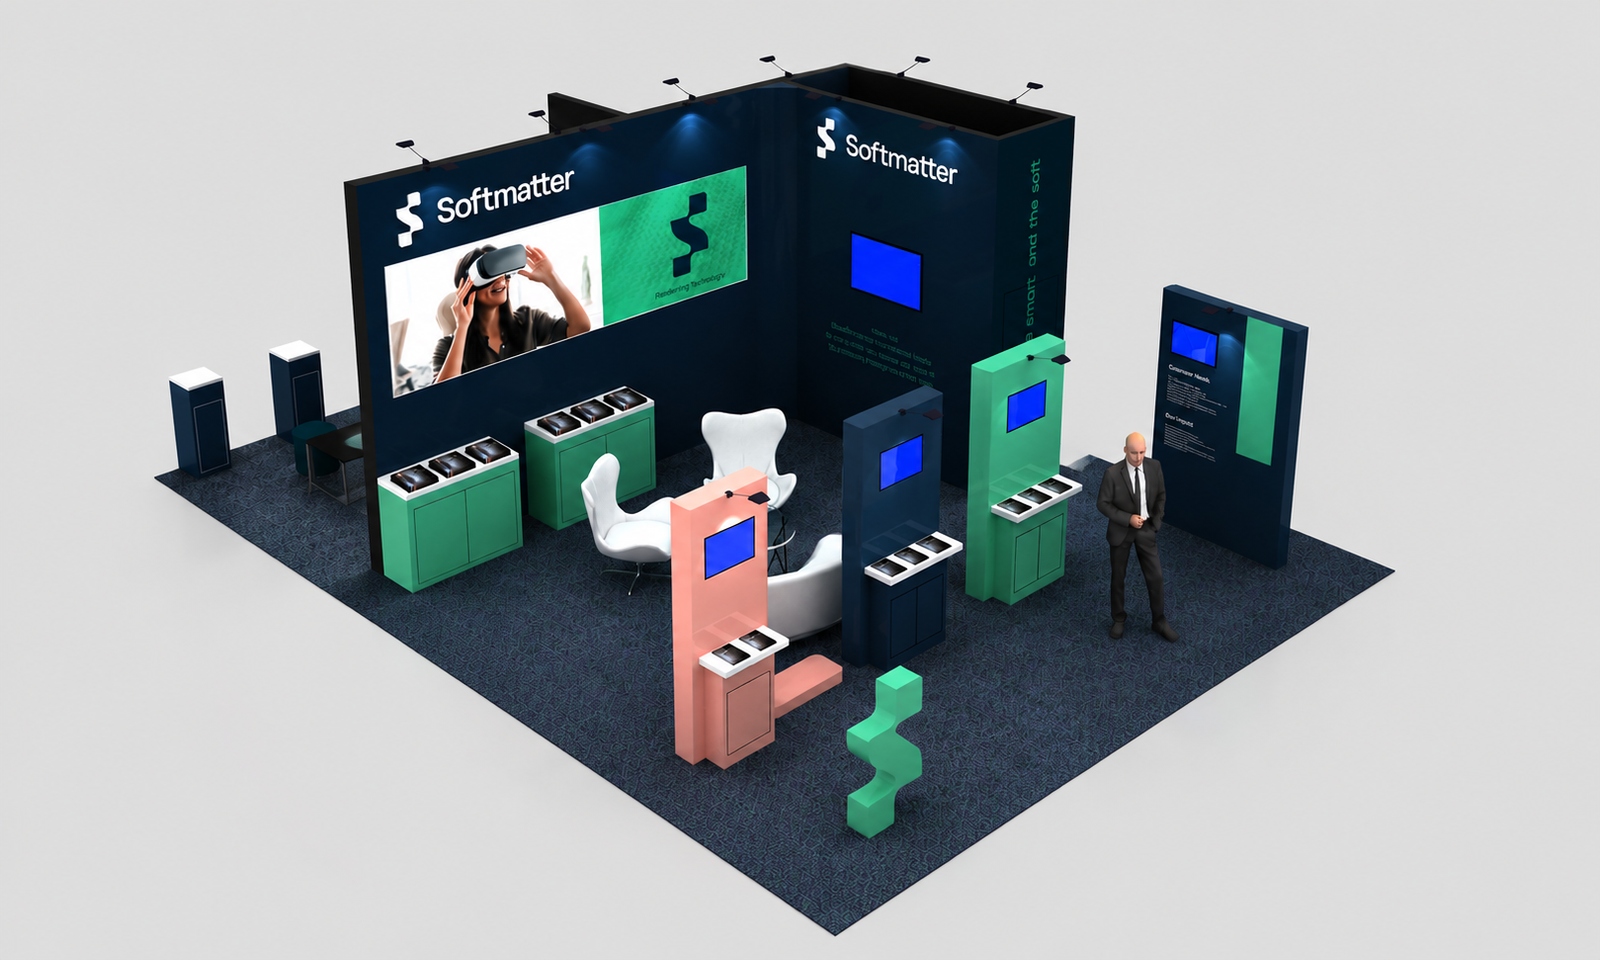
Design features: Multiple technology stations combined screens, branded counters, presentation walls, and seating. Different colors and graphic treatments distinguished the presentations within the island layout.
Design takeaway: Give each application a clear presentation point while coordinating the overall brand. Review the space between stations with people using the counters and seats, not just in an empty rendering.
View the Softmatter CES 2022 case study →
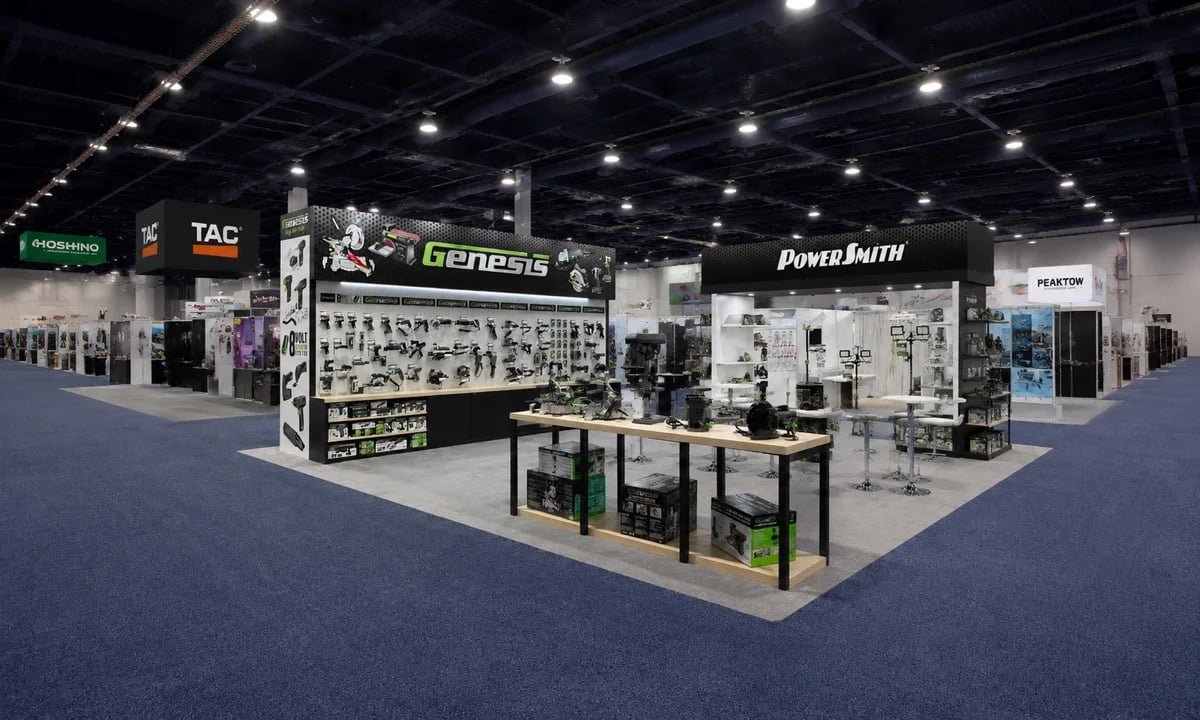
Richpower — National Hardware Show 2023 — 20×30, Las Vegas
Design features: Genesis tools and PowerSmith work lights occupied separately branded display areas. Wall-mounted products, freestanding presentation tables, and high seating supported product comparison and conversation.
Design takeaway: Let product format influence fixture selection. Wall-mounted tools and floor-standing lights need different display arrangements, even when they share one booth. The photographs document product placement, not confirmed live tool operation.
View the Richpower 20×30 booth case study →
What Affects 20×30 Booth Design Costs?
The footprint is only one cost factor. An open product-display layout and an enclosed meeting layout can require different structures, finishes, AV, packing, and installation work within the same 600 square feet.
| Cost driver | Design decision to confirm |
|---|---|
| Structures and finishes | Custom features, enclosed rooms, material specifications, and reusable components |
| Product fixtures and graphics | Display quantities, mounting details, graphic sizes, lighting, and replacement needs |
| AV and utilities | Equipment scope, outlet locations, connected loads, internet, and separate service orders |
| Overhead branding | Sign eligibility, engineering, approved rigging scope, and provider charges |
| Freight and installation | Packing volume, weight, delivery route, assembly sequence, labor, and access windows |
| Reuse and return | Dismantling, return freight, storage, refurbishment, and future graphic changes |
Ask each builder to distinguish included services, estimates, exclusions, and work coordinated on your behalf. Electrical, material handling, internet, and rigging may require separate official-provider orders. Use our Custom Booth Quote Guide to compare the same scope across proposals.
Buildability, Rigging & Installation
Connect the approved concept to production drawings, packing, and installation requirements before fabrication begins. A previous project’s height or hanging sign does not establish permission for your next event.
- Rules and approvals: Confirm the assigned configuration, permitted structures, sign requirements, and any engineering or fire-review submissions in the current exhibitor manual.
- Fabrication: Specify materials, joints, finishes, display loads, graphics, and service access. Our custom booth fabrication service connects design requirements with production and pre-show preparation.
- Power and rigging: Identify the event’s authorized providers, required drawings, and order deadlines. A hanging sign is an optional design choice, subject to approval.
- Freight and assembly: Coordinate the exhibit transportation plan with receiving arrangements and the installation and dismantling scope.
Build the schedule backward from actual approval, receiving, and move-in dates. Design development, freight planning, service ordering, and labor coordination can overlap, but unresolved dependencies must be settled before the affected work proceeds.
Is a 20×30 Island Booth Right for Your Brand?
Choose this footprint when the additional length supports a clear need: simultaneous demonstrations, several product families, scheduled meetings, or equipment with substantial operating space. Confirm that your staff can cover the planned activities and that the budget includes delivery and show services.
If the main task is a single presentation and short conversations, compare a smaller footprint before adding rooms or displays simply to fill space. For repeat shows, identify which components could be reused or reconfigured; a custom 20×30 design does not automatically convert into a 20×20 layout.
Frequently Asked Questions
Is every 20×30 booth an island booth?
No. The dimensions describe 600 square feet; the organizer’s floor plan determines the configuration and open sides. Confirm an island assignment before planning access from all four aisles.
Can a 20×30 island booth include a private meeting room?
It can be considered if the remaining space supports displays and circulation. Review room occupancy, door access, ventilation, sound needs, and applicable approval requirements before committing to an enclosure.
Does a 20×30 island booth need a hanging sign?
No. Floor-supported branding and graphics may meet the brief. If a suspended sign is proposed, confirm eligibility, the authorized rigging provider, technical submissions, and cost for the specific event.
How early should a custom 20×30 booth be planned?
Lead time depends on complexity, approvals, production capacity, freight origin, and event deadlines. Ask your builder to map design and production milestones against confirmed receiving and move-in dates before relying on a completion date.
Can custom fabrication and rental elements be combined?
Yes. A project can combine purpose-built displays with rental furniture, AV, or other components. The proposal should identify ownership, quantities, availability, return responsibilities, and storage arrangements.
What should I send for a 20×30 design proposal?
Send the show, venue, dates, booth number, assigned floor plan, product dimensions, demonstration requirements, meeting capacity, graphics, AV needs, target budget, and current exhibitor manual. Include future shows if reuse matters.
Get a Free 20×30 Custom Booth Quote
Planning a 20×30 exhibit for a U.S. trade show? Our Las Vegas-based team coordinates design, fabrication, graphics, transportation, and installation. Share your show, floor plan, display requirements, and budget so we can develop a layout and define the project scope.