CHAMPS 2024 20×20 Booth for Daddys in Las Vegas
A 400-square-foot multi-brand exhibit combining glass product displays, a graphic backdrop and circular overhead signage at the Las Vegas Convention Center.
Project Overview
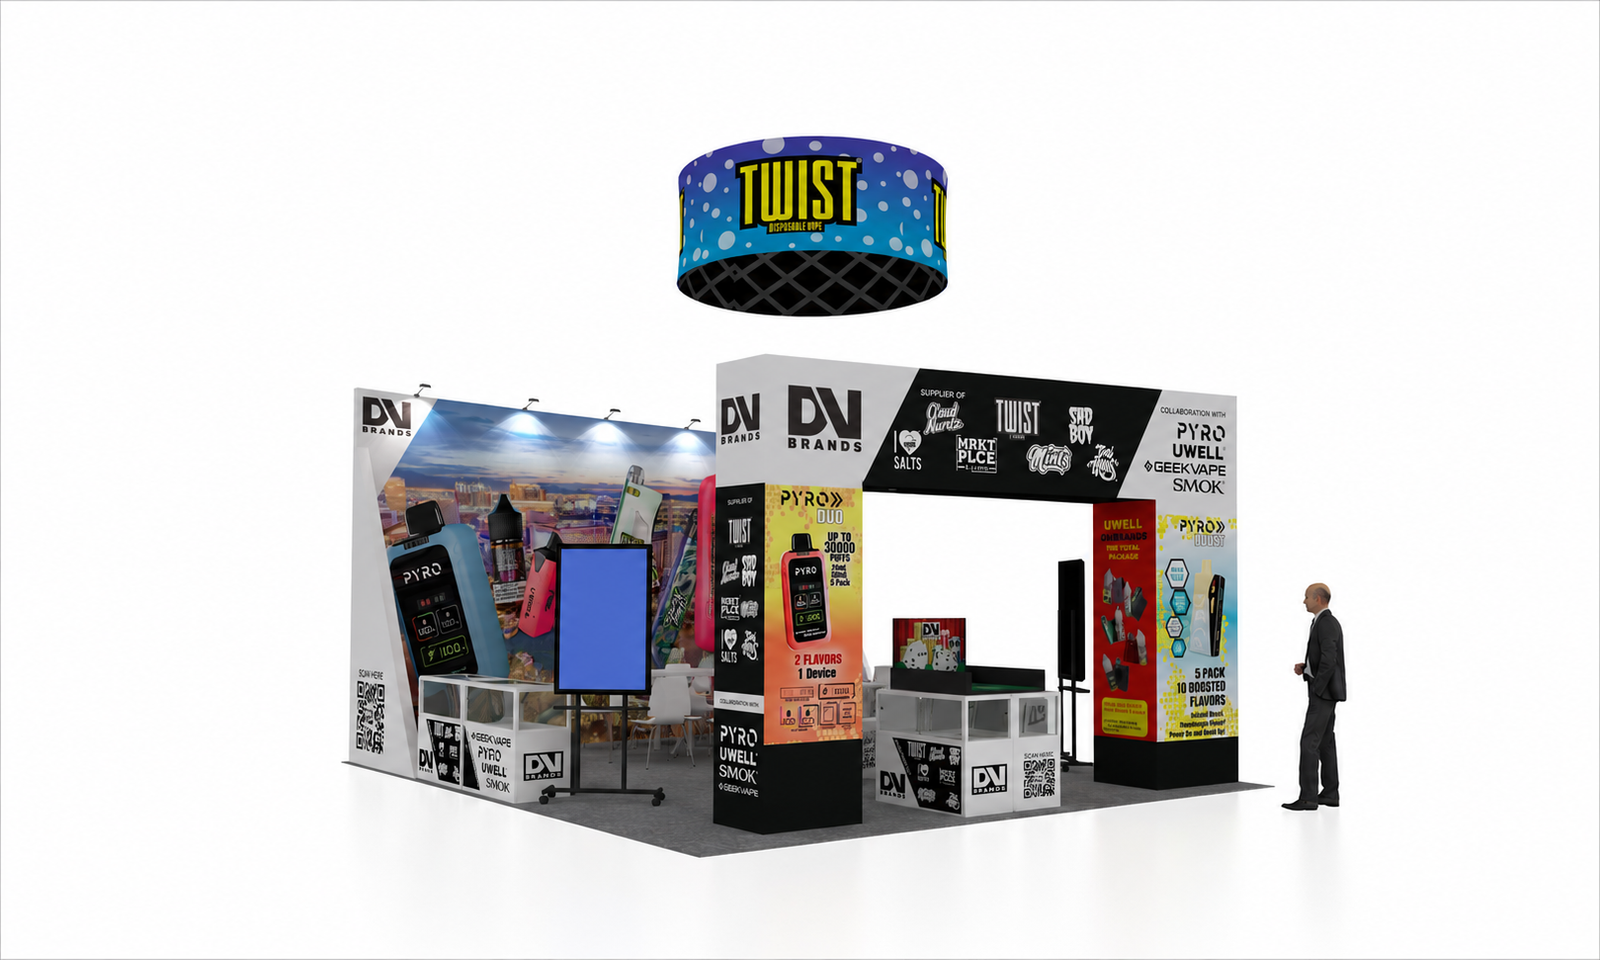
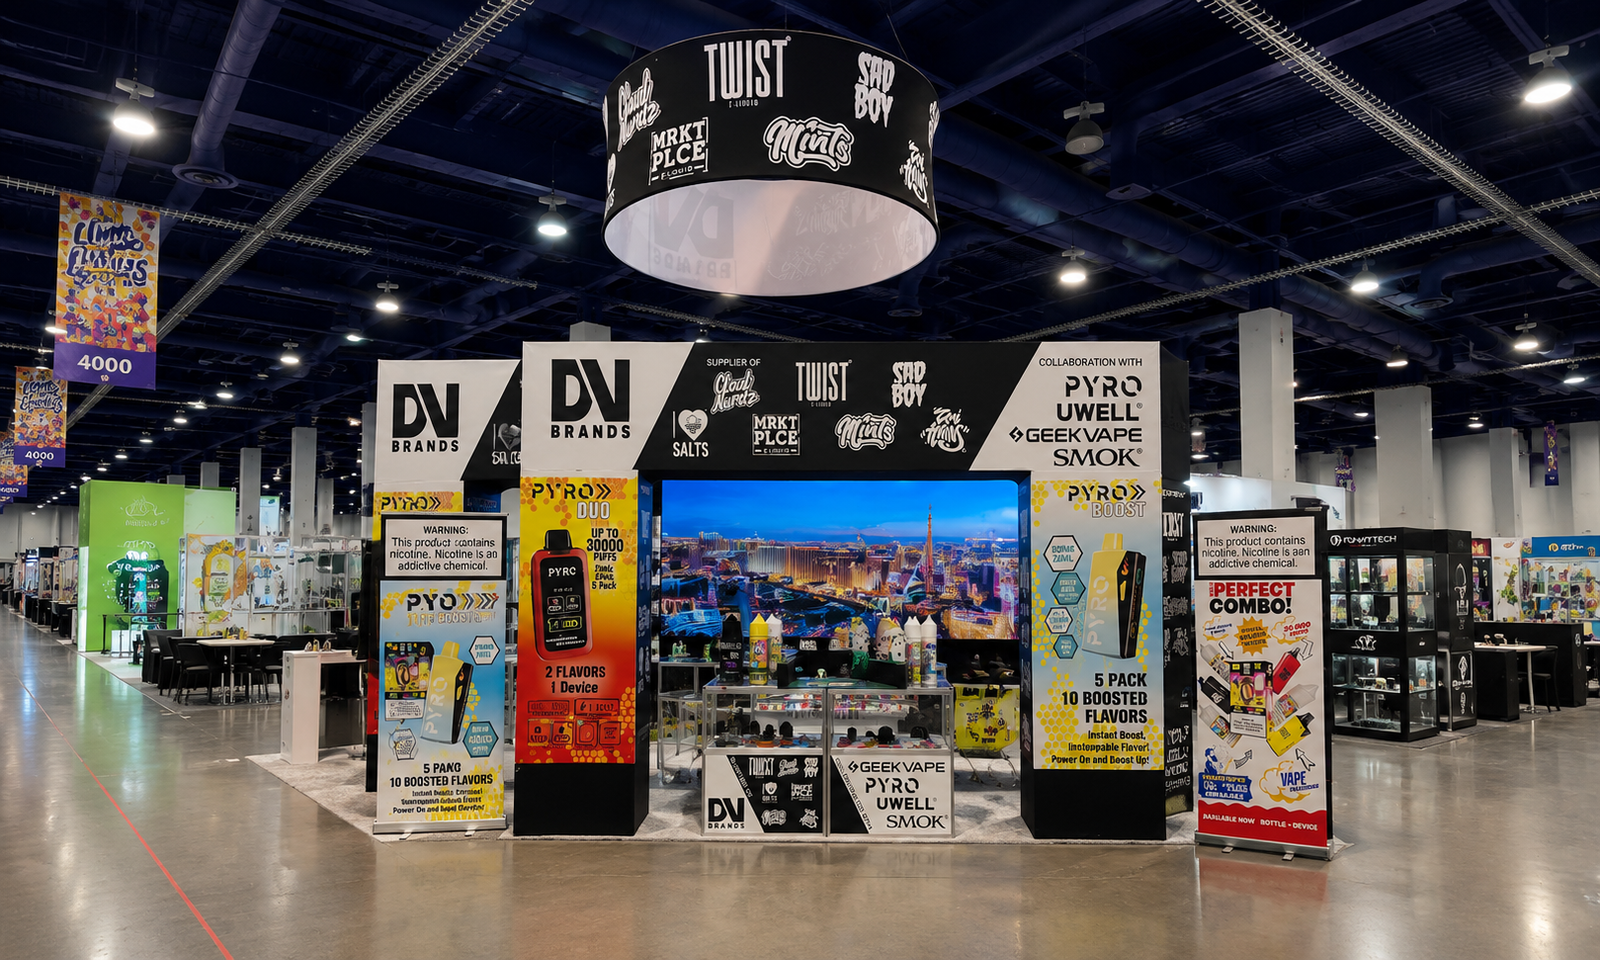
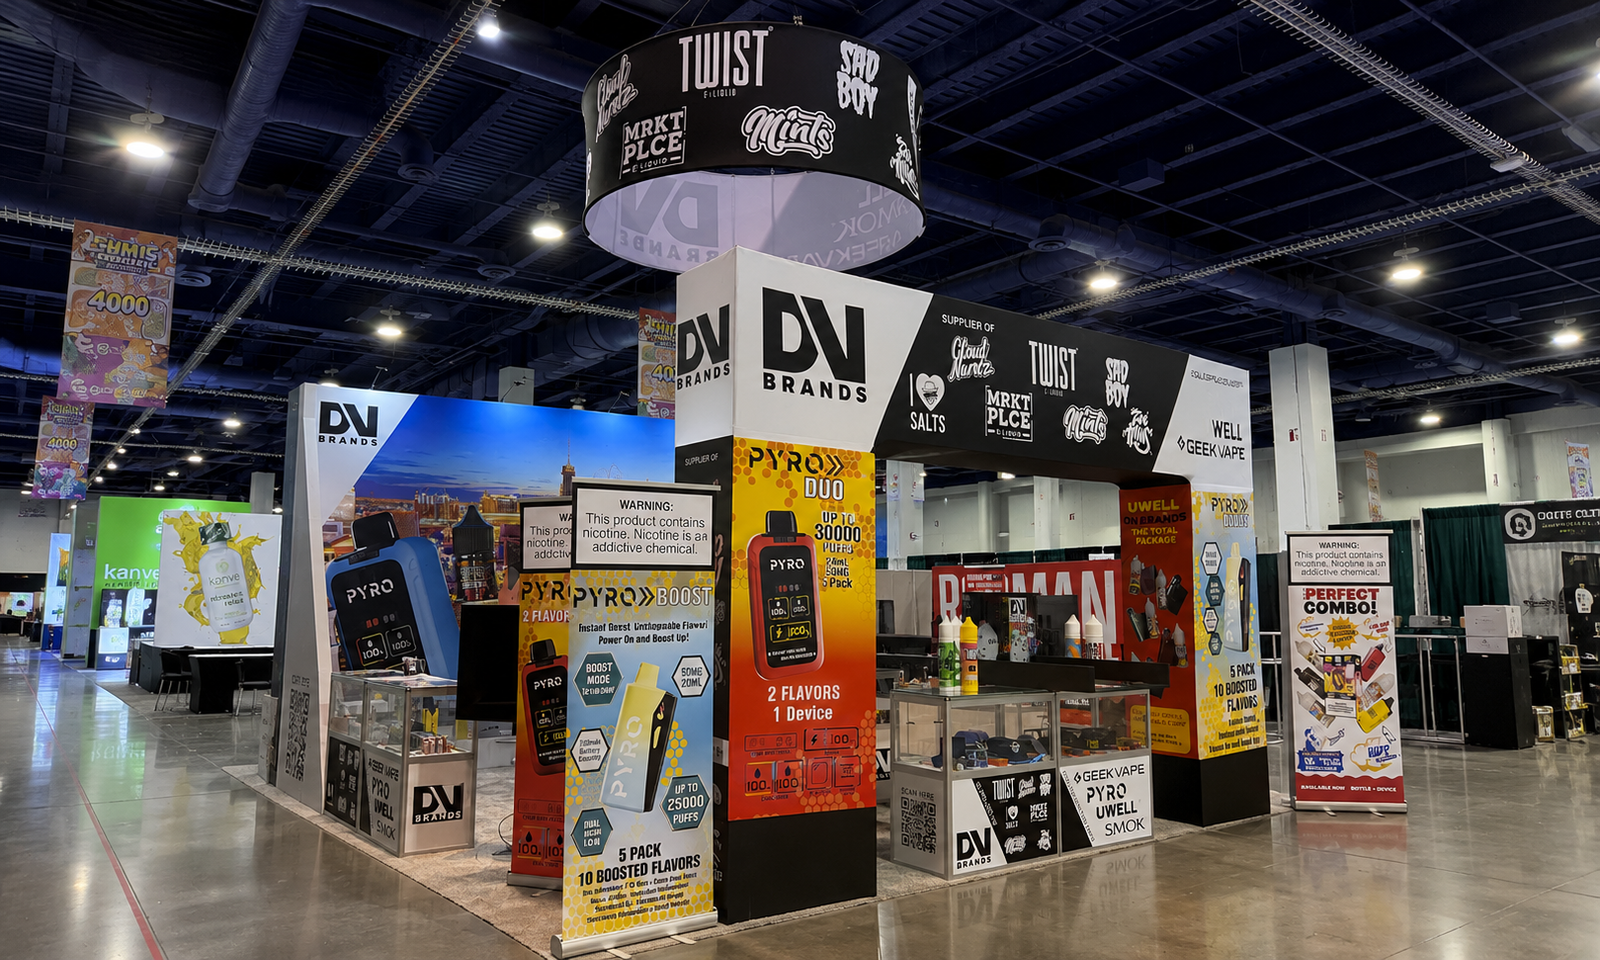
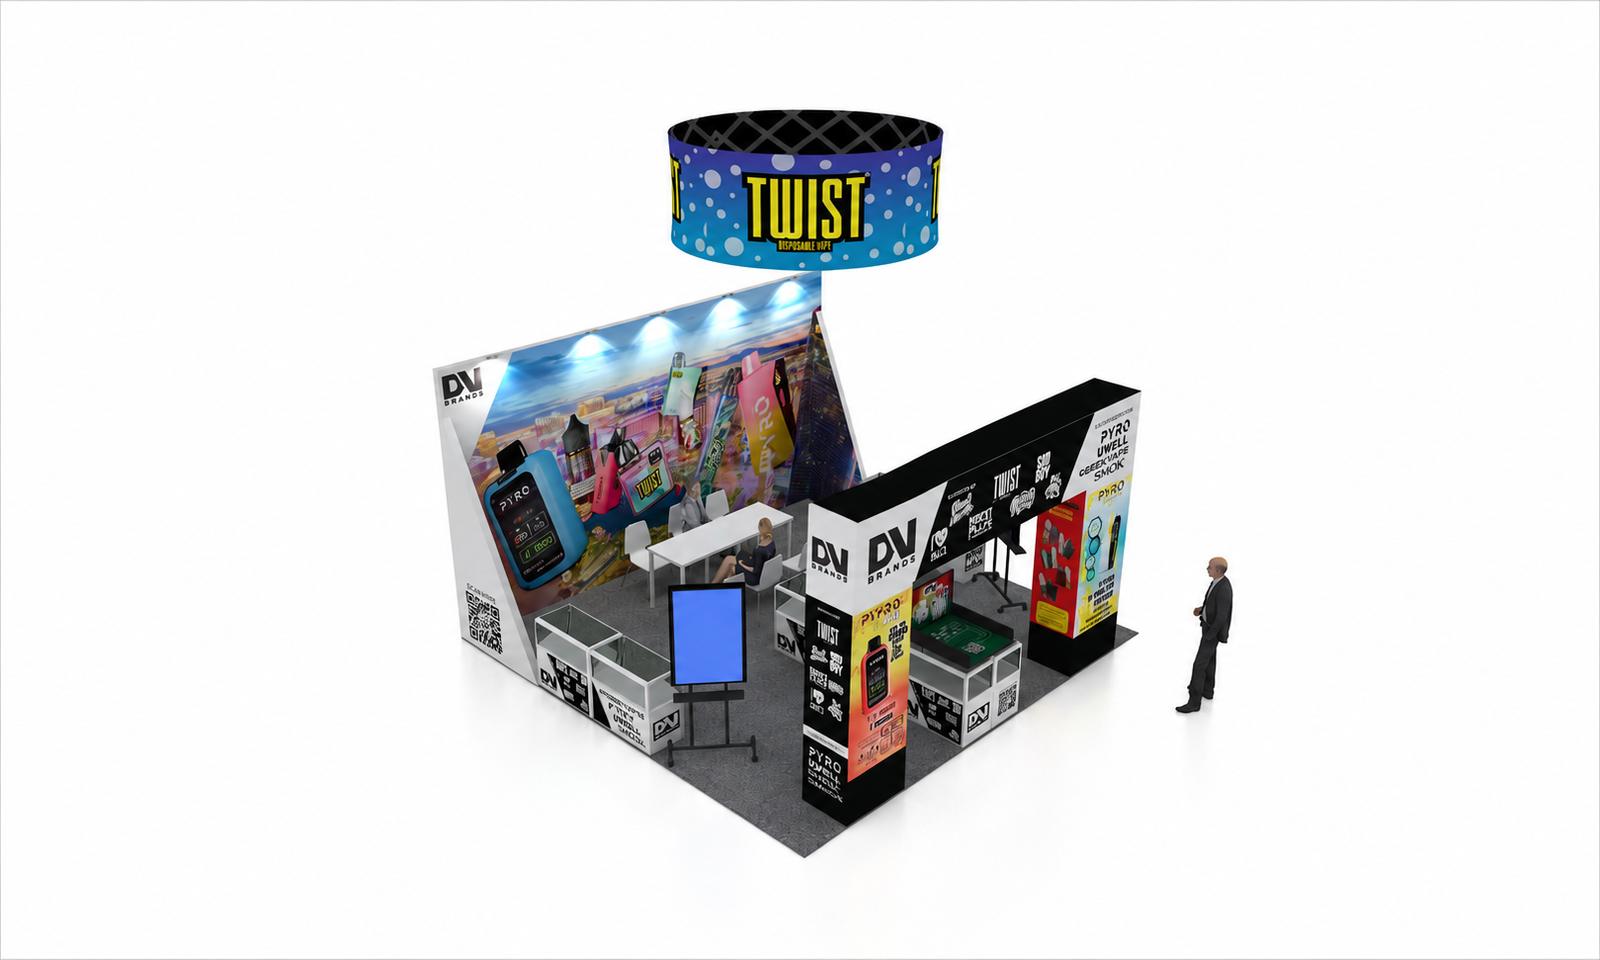
Exhibitsmax created Daddys’ 20×20 booth for CHAMPS 2024 at the Las Vegas Convention Center. The 400-square-foot exhibit combined multiple brand identities, glass display counters and a large graphic backdrop beneath a circular hanging sign. Two concept renderings and two completed photographs document the layout and its show-floor presentation.
Client Goals
The project needed to organize several product and partner-brand messages within one exhibit. Visitors needed to identify the brands from the aisle, find the relevant displays and speak with booth staff. The design challenge was to give each message a place without allowing graphics, counters and freestanding displays to compete for every part of the footprint.
Design & Layout Solution
The 20×20 layout used a black-and-white portal structure to establish a recognizable frontage. DV Brands identification appeared on the white columns, while the dark header grouped several partner logos above eye level. Colorful vertical panels carried more detailed product graphics, separating closer-view information from the branding intended to be seen across the aisle.
Glass display counters supported product viewing along the front and sides. Their positions created several points for staff conversations rather than concentrating all interactions at one reception desk. Open gaps between the fixtures connected these display areas with the interior. The elevated rendering also shows how a meeting table could sit behind the main display frontage.
A large cityscape graphic formed the rear visual backdrop, with lighting directed toward the printed presentation surfaces. The concept included a freestanding portrait monitor beside the display cases. These are distinct elements: the cityscape should be understood as the graphic backdrop, while the monitor appears in the design views. The completed photographs are the reference for the installed counter arrangement, product graphics and signage.
The circular sign also changed between the concept and completed views. The renderings show a colorful TWIST treatment; the show-floor photographs show a black sign carrying several brand logos. The gallery therefore demonstrates both the spatial concept and the final brand presentation, rather than four identical views of one finished configuration.
Production & Installation at the Las Vegas Convention Center
The project combined booth design and 3D visualization with custom fabrication, rental elements and graphic production. Production coordinated the portal columns, header, display fixtures and large printed panels. Pre-show assembly allowed the structure, component fit and graphic placement to be checked before packing.
Exhibitsmax also provided project management, transportation, installation and dismantling, followed by return and storage. The completed photographs show the assembled exhibit, stocked display cases, freestanding graphic banners and overhead branding on the CHAMPS floor. For a future project, final artwork, display inventory, electrical needs and any overhead-sign arrangements should be reviewed against the assigned floor plan and current exhibitor requirements.
Completed Result
The completed booth brought multiple brands into an organized 400-square-foot presentation. Overhead and header graphics established recognition at a distance, while the counters and vertical panels supported closer product viewing and staff conversations. The result offers a practical reference for separating brand hierarchy, display functions and visitor access within a compact exhibit.
Planning a Similar Exhibit
For a booth arranged around glass counters, document case dimensions, door and lock access, fixture weights and lighting connections before setting the layout. Allow working space behind each counter and clear entry gaps between fixtures. Provide final artwork sizes and the installation sequence for the freestanding panels and overhead structure so these elements can be coordinated without obstructing access to the cabinets.
Planning a booth with several brands or product collections? Share your brand list, display quantities, counter needs and floor plan with our Las Vegas exhibit team to begin the layout discussion.